Command: TOOLPALETTES
On a tool palette you can add blocks, hatches and commands in a tabbed window.
Drag a tool from the palette to the graphic screen to launch the related tool.
![]() Tool
Palettes (Internet connection needed)
Tool
Palettes (Internet connection needed)
Do one of the following:
Hover over a toolbar (Windows) or an empty toolbar area (Windows and Linux), then right click and choose Tool Palettes Bar in the context menu.
Type toolpalettes in the command bar, then press Enter.

Right click in an empty space of the icon area on
the Toolpalettes Bar and choose
View Options... in the context
menu.
The View Options dialog displays.
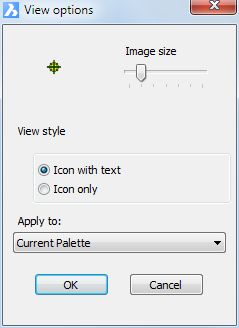
Drag the Image Size slider to adjust the image size.
Select either Icon with text or Icon only.
Choose either Current Palette or All Palettes from the Apply to list button.
Click the OK button to confirm.
Move the cursor to the icon area of the
Tool Palettes Bar, then right
click.
A context menu displays:
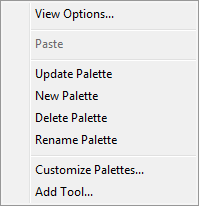
Choose New Palette in
the context menu.
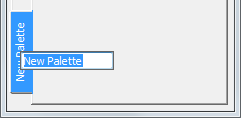
A new tab is added.
Type a name for the new palette in the Name field.
Move the cursor to the icon area of the
Tool Palettes Bar, then right
click.
A context menu displays:
Choose Customize
Palettes in the context menu.
The Customize dialog box
displays:
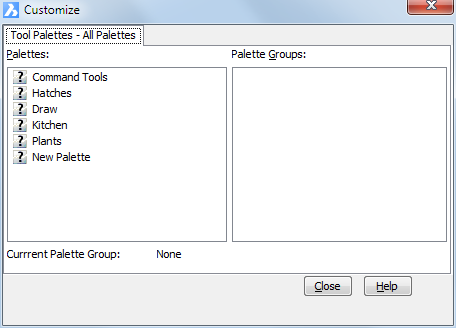
In the Palettes pane on the Customize dialog box, right click and choose Import in the context menu.
On the Import Palette dialog, select a folder, then select a palette file (*.btc or *.xtp).
Click the Open button
or double click to import the palette.
The palette is added in the Palettes
list.
Click the Close button to close the Customize dialog box.
Right click tool palette tab and choose Rename Palette in the context menu.
Type a new name for the palette in the Name field.
Press Enter to confirm.
Right click tool palette tab and choose Delete Palette in the context menu.
Click the OK button on the Confirm Palette Deletion box.
Select the palette you want to add a hatch pattern to.
Open the Hatch and Gradient dialog box.
Select either Predefined or Custom from the Type list button.
Double click the Swatch field on the Hatch
and Gradient dialog box.
The Hatch Pattern Palette
displays.
Select the hatch pattern you want to add, then right click.
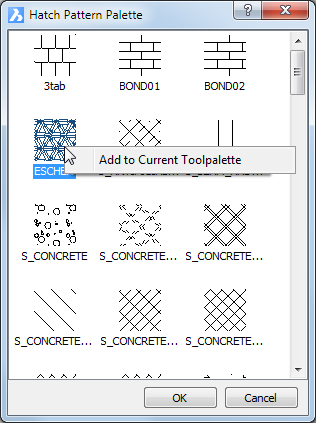
Choose Add to Current Tool
Palette.
The hatch pattern is added on the current tool palette.
(option) Repeat steps 5 and 6 to add more hatch patterns.
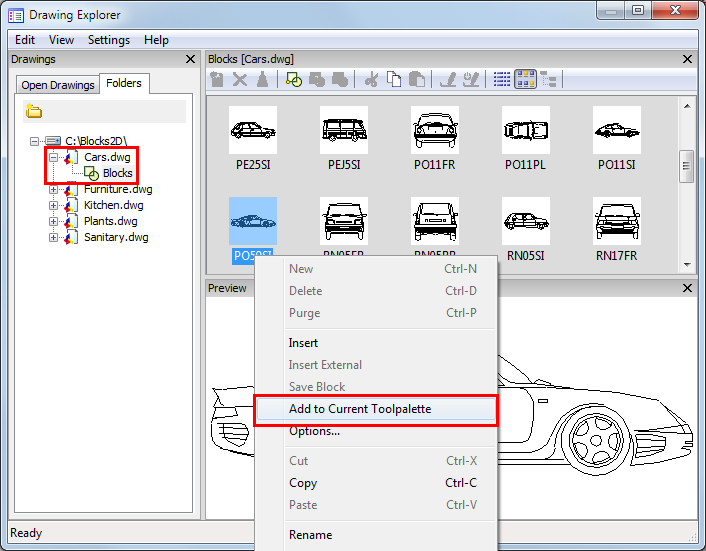
Blocks can be added from the current drawing or from any drawing.
Choose Drawing Explorer - Blocks in the Tools menu.
On the Drawing Explorer - Blocks dialog box select the block or blocks you want to add.
Right click and choose Add to Current Tool Palette in the context menu.
If not already available, add the containing folder to the Folders list on the Drawing Explorer - Drawings dialog box.
Select the drawing in the containing folder on the Drawing Explorer - Drawings dialog box.
Click the Expand icon (+) of the containing
drawing.
The Blocks icon of the drawing
displays.
Click the Blocks icon
of the containing drawing.
The blocks in the drawing display in the Details pane.
Select the block or blocks you want to add.
Right click and choose Add to Current Tool Palette in the context menu.
If not already available, add the containing folder to the Folders list on the Drawing Explorer - Drawings dialog box.
Select the drawing in the containing folder on the Drawing Explorer - Drawings dialog box.
Right click and choose Add to Current Toolpalette as block in the context menu.

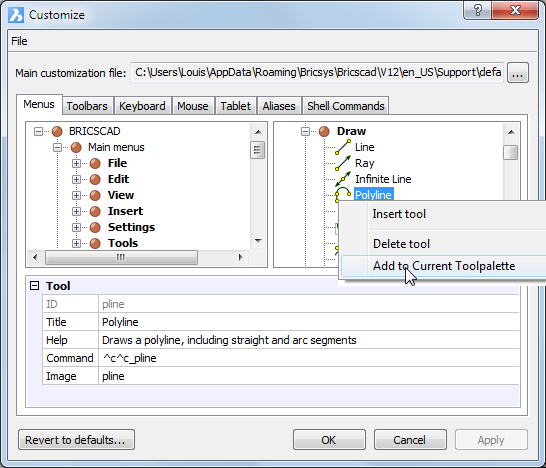
Choose Customize in the Tools menu.
Under Available Tools on the Customize dialog, expand the containing toolbox, then select the command in the commands list.
Right click and choose Add to Current Tool Palette in the context menu.
|
NOTE |
See the topic Creating Custom Tools to create your own tools, which you can then add to a tool palette. |
General procedure to edit a tool on a tool palette:
Right click the tool, then choose Properties in the context menu.
The Tool Properties dialog box
displays.
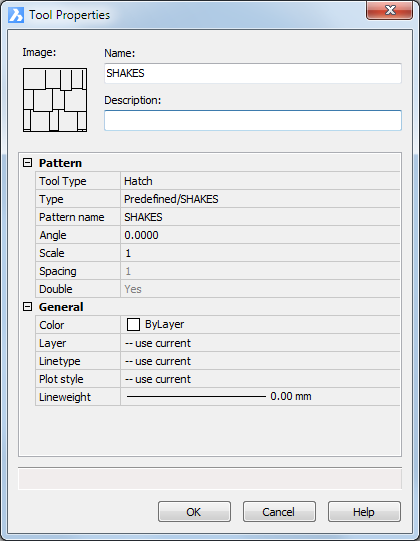
Hatch tool properties
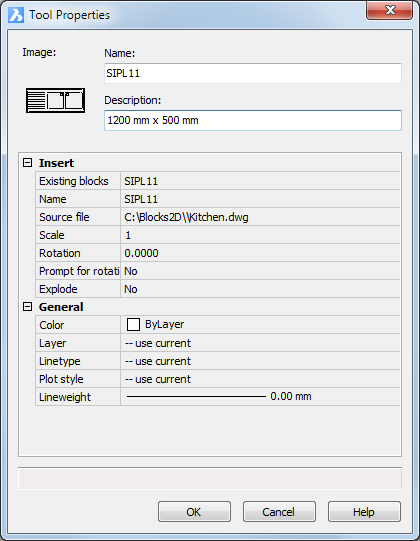
Block tool properties
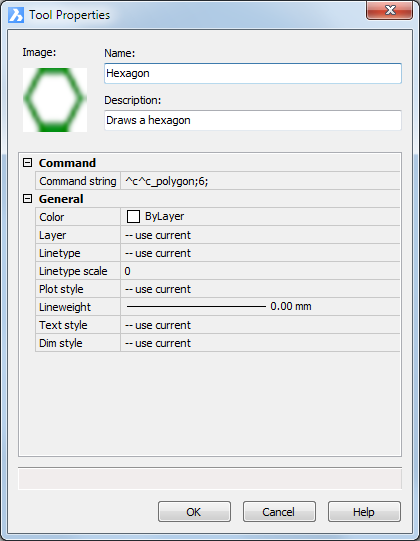
Command tool properties
Edit the tool properties.
Click the OK button to confirm.
To manage the tools on a tool palette do the following:
Right click the tool.
A context menu displays:
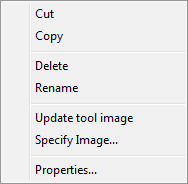
Choose an option in the context menu.
Right click the tool and choose Specify Image in the context menu.
A file dialog box displays.
Select the image file, then click the Open button.
|
NOTE |
To restore the original tool image: Right click the tool and choose Remove Image in the context menu. |
To move a tool from one palette to another, do the following:
Right click the tool on the source palette and choose Cut in the context menu.
Select the target palette.
Right click and choose Paste in the context menu.
The tool is added at the bottom of the palette.
| © Menhirs NV. All rights reserved. |