![]() Pro, Platinum
Pro, Platinum![]() Pro, Platinum
Pro, Platinum![]() Pro, Platinum
Pro, Platinum
Records the animation of a camera moving along a path or panning in a 3D model and saves it to a movie file.
Accessing the Command
command bar: anipath
menu bar: View | Motion Path Animations
ribbon: View | Motion Path
Animations | ![]()
: anipath
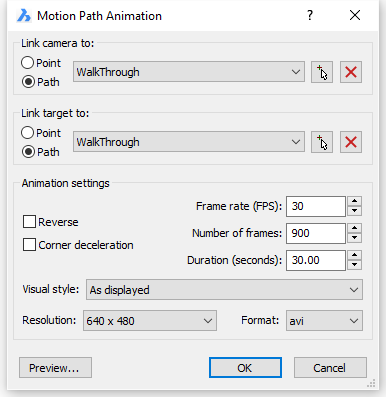
Displays a dialog box:
Command Options
|
Option |
Description |
|
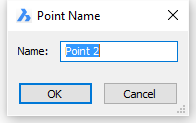
Defines the location of the camera. Select an option: Point: Links a camera to a static point in the drawing. If Link target to is set to Point, this option is not available for the camera.
Do one of the following:
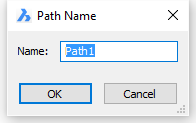
Path: Links a camera to a linear entity in the drawing.
Do one of the following:
|
|
|
Defines the target point of the camera. If the camera is linked to a point, the target must be linked to a path. If the camera is linked to a path, the target can can be linked to either a point or a path. Select an option: Point: Links the target to a static point in the drawing. If Link camera to is set to Point, this option is not available for the target.
Do one of the following:
Path: Links a target to a linear entity in the drawing.
Do one of the following:
|
|
|
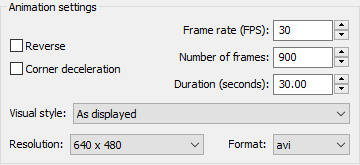
Allows to control the output of the movie file.
Frame rate (FPS): defines the number of frames per second. When you change the Frame rate, the Number of frames will be adjusted according to the Duration. Number of frames: specifies the total number of frames in the movie. When you change the Number of frames, the Duration will be adjusted accordingly. Duration (seconds): specifies the duration in seconds of the movie. When you change the Duration, the Number of Frames will be adjusted accordingly. Reverse: Reverser the sequence of the frames. Corner deceleration: Slows down the camera at corners in the animation path. Visual style: Defines the visual style for the movie. Click the button, then select a visual style in the list. All visual styles in the current drawing are available. Resolution: Sets the width x height resolution of the movie. Click the button to select a resolution. Available resolutions are: 160x120, 320x240, 640x480, 800x600, 1024x768, 1280x1024, 1600x1024, 1920x1080, 1920x1200. Format: Specifies the file format of the movie. Available formats are: avi, mpg and wmv. |
|
|
Displays the movement of the camera. |
|
|
Generates the movie. Displays a File dialog:
|
Related Commands
Camera - creates perspective views.
-Render - generates a photorealistic rendering using materials and lights through the command bar.
Render - generates a photorealistic rendering using materials and lights through a dialog box.
-VisualStyles - manages visual style definitions at the command line.
VisualStyles - creates and controls visual style definitions in the Drawing Explorer.
| © Menhirs NV. All rights reserved. |