Works with Bricscad (Windows) Pro and Platinum
Creates materials and edits their properties through the Drawing Explorer.
Accessing the Command
command bar: materials
menu bar: Settings | Materials ...
toolbar: Rendering|
![]()
: materials
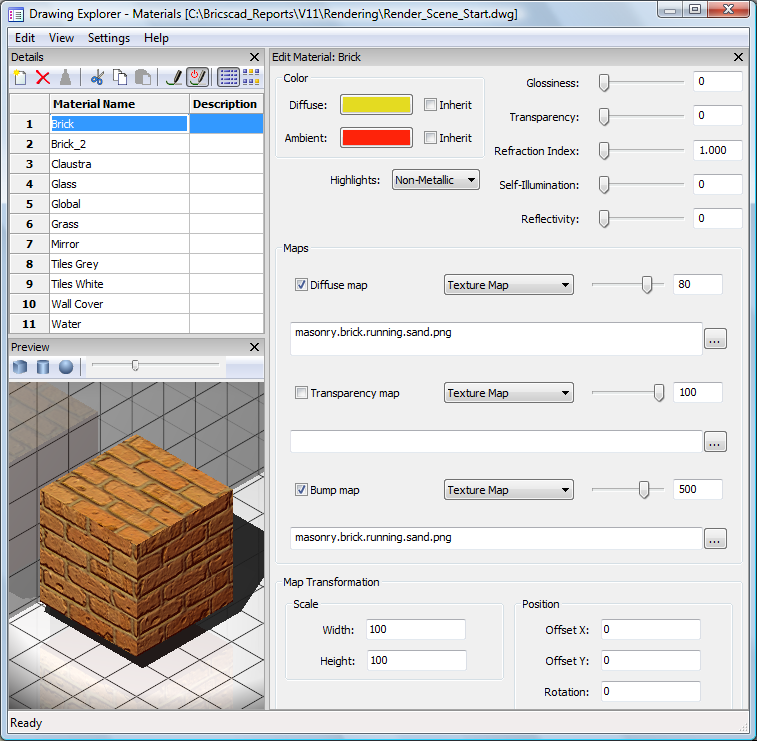
Displays the Materials section of the Drawing Explorer dialog box:
Command Options
|
Option |
Description |
|
Details |
|
|
Creates a new material. Click the icon, then name the material and optionally fill out the description field (Detail View only). |
|
|
Deletes the selected material(s). The Global material cannot be deleted. |
|
|
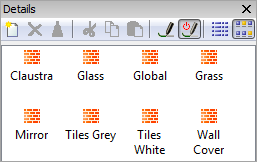
Displays the Icon View of the materials:
|
|
|
Displays the Detail View of the materials:
|
|
|
|
|
|
|
|
|
Displays a preview of the selected material applied to a cube. |
|
|
Displays a preview of the selected material applied to a cylinder. |
|
|
Displays a preview of the selected material applied to a sphere. |
|
|
Sets the light intensity in the Preview window. Do one of the following:
|
|
|
|
|
|
Edit Material |
|
|
|
|
|
Diffuse Ambient
|
Sets the diffuse and ambient color. Do one of the following:
|
|
Highlights |
Sets the highlight property of the material. Click the button then choose either Non-Metallic or Metallic. |
|
Glossiness Transparency Refraction Index Self-Illumination Reflectivity |
Defines a property of the material surface. Do one of the following:
|
|
|
|
|
Texture maps add detail to a surface which is not included in the 3D model itself. |
|
|
Diffuse Map Transparency Map Bump Map |
Diffuse maps apply a texture to the surface of a material such as wood grains, bricks or tiles. Transparency maps set the transparency of a texture from 0% (black) to 100% (white) and anything between (grey scales). Bump maps create a bumpy or irregular surface. To apply a texture map:
(*) The TextureMapPath user preference defines the search path for texture map images. In the Bricscad program folder exist three subfolders under Textures, each containing a number of texture files of the same name. Images in folder 1 have a size of 256 x 256 pixels, folder 2 contains images of 512 x 512 pixels, images in folder 3 have a size of 1024 x 1024 pixels. If the Diffuse map setting of a material uses the image name only (not path), you can control the quality of a rendered image by setting the TextureMapPath user preference to folder 1, 2 or 3. |
|
|
|
|
Map Transformation |
|
|
The texture map image is applied at a size of 1 drawing unit multiplied by the Width and Height factors. E.g. if the Width and Height factors or both set to 10, the size of the texture image is 10 x 10 drawing units. |
|
|
|
|
|
Offset |
Texture maps maps are tiled starting from the origin of the WCS. To adjust the tiling you can define an Offset X and Offset Y. The offsets are expressed in drawing units. |
|
Rotation |
Sets the rotation of the texture maps. Type the desired rotation in the Rotation field. |
Related Commands
Render - calculates a photorealistic image of the 3D model.
Light - Creates a new light in the drawing.
| © Menhirs NV. All rights reserved. |